7 Genius Organizing Hacks That Actually Work in Every Room
Most “organizing hacks” lists are just a pile of pretty bin photos with no reason they work. These 7 are actual systems, the same rules professional organizers use in a kitchen, a garage, and a kid’s closet, with the exact mechanism behind each one and how to apply it in two totally different rooms.
Never miss an update — choose TheDeclutterDesk as your preferred source on Google.
How it works: Tap the button below to open Google’s settings page, then check the box next to TheDeclutterDesk.
Tap the checkbox to turn it blue — that’s how you know it’s set.
Most “organizing hacks” articles are really just photos of pretty bins with no explanation of why any of it holds up. These 7 aren’t decor tips, they’re the actual systems professional organizers use in a kitchen, a garage, and a kid’s closet, the same rules just applied to different stuff. Each one comes with the real reason it works, a common mistake that undoes it, and a concrete example in two different rooms so you can see it’s not just a title gimmick.
Do all 7 and most rooms in your house stop sliding back into clutter within a few weeks, not just the one you tackled first.
Why most “organizing hacks” lists don’t actually work

Search “organizing hacks” and you’ll get 50 tips in a row, a tension rod here, a lazy Susan there, no thread connecting any of it. That’s why the bins look great in week one and the room looks exactly like before by week six.
The organizers who actually keep a house tidy long-term don’t work off a tip list. They work off a small set of repeatable rules. Mindy Godding, a certified professional organizer and president of the National Association of Productivity and Organizing Professionals, describes it as an “organizational triangle,” one home for everything, like with like, and something in, something out, and she applies that exact same triangle whether she’s organizing a pantry or a garage.
That’s the real differentiator in this list. Every hack below is a rule, not a product, so it works whether you’re staring at a junk drawer or a garage wall.
A quick note before you start: none of this requires buying anything upfront. Every hack works with containers, hooks, and labels you likely already own, and the two-room examples below use ordinary household items, not a shopping list.
1. Give every single item one home, not a general area
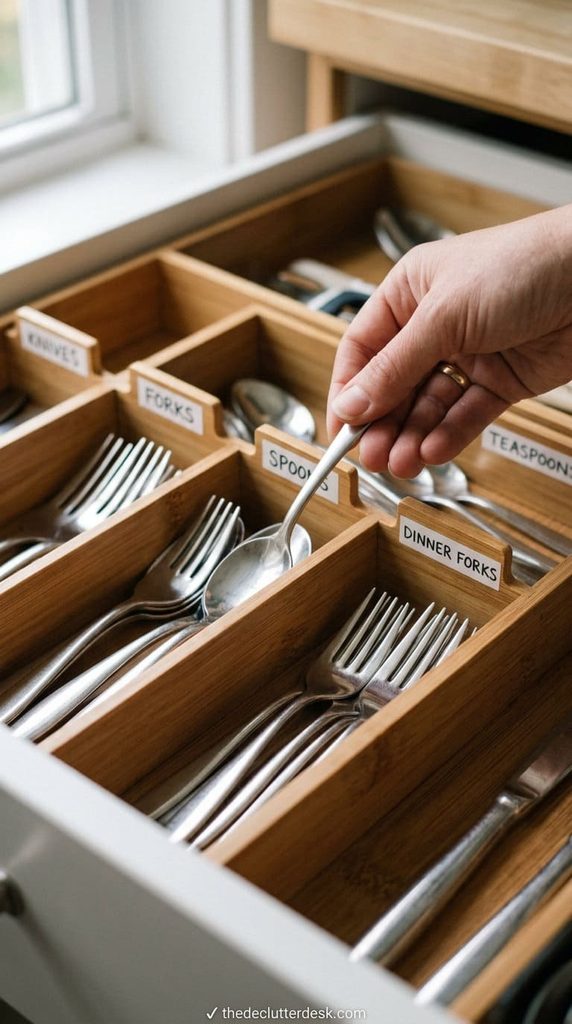
“Somewhere in the hall closet” is not a home. A home is specific enough that two different people in the house would put the item back in the exact same spot without asking.
Why it works everywhere: clutter usually isn’t too much stuff, it’s stuff with no fixed address. When an item’s location is vague, every person in the house makes a fresh decision about where to put it back, and vague decisions get skipped when someone’s in a hurry. A specific home removes the decision entirely.
How to actually do it: walk one room and pick up the first 10 loose items you see. For each one, name the exact home out loud, “phone chargers live in the second kitchen drawer, left side,” not “somewhere in the kitchen.” If you can’t name a specific spot in one sentence, that’s the item that needs a real home first.
The mistake: assigning a home that’s technically true but too big to be useful, like “the office” for a stapler. A room-sized home still forces a search every time, it’s not actually a home, it’s a zip code.
Kitchen example: every spice gets one shelf position, alphabetized or grouped by cuisine, so nobody’s hunting through three different areas for cumin.
Kids’ room example: one specific bin for LEGO, a separate one for stuffed animals, not one big “toys” bin where everything gets dumped and nothing has an actual spot.
New tip: for shared spaces like an entryway, tape a tiny label inside the bin lid for the first few weeks. It sounds unnecessary, but it stops the household from quietly renegotiating the system without meaning to.

Handles the vertical-space and landing-zone hacks in one product, damage-free enough for renters, and rated to hold 3 lb per hook, real household weight, not just decorative use.
Shop NowThis post contains affiliate links. We may earn a commission on qualifying purchases at no extra cost to you.
Best fit: rooms multiple people use daily, kitchens, entryways, bathrooms. Weakest fit: a single-person home office where you’re the only one deciding where things go anyway, the rule still helps but the payoff is smaller since there’s no second person to lose track of the system.
2. Sort into containers before you shop for containers
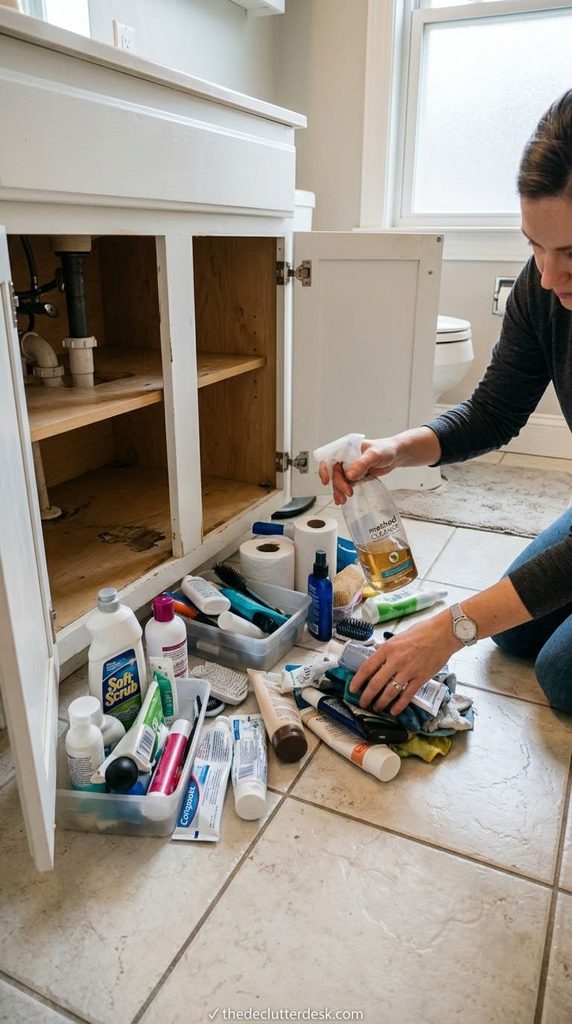
The instinct is to buy bins first and fill them later. Flip that order. Pull everything out, sort it into rough piles, and only then measure what you actually need.
Why it works everywhere: container size only makes sense once you know real volume, and clear containers specifically cut what’s called decision fatigue, the mental cost of repeated small choices. Psychologist Ashima Sahore has noted that organizing systems reduce “the cognitive burden of constant decision-making” precisely because you stop re-deciding what’s in a bin every time you need something. A clear bin answers that question at a glance instead of making you open it.
How to actually do it: empty the space completely onto a table or floor. Group items by how you’d actually search for them, not by category on paper, “stuff I grab in the morning” is a real group even if it mixes a hairbrush and a phone charger. Only after the piles exist do you measure a container against the tallest or bulkest item in that pile.
The mistake: buying a matching set of opaque bins because they look good on a shelf, then forgetting what’s in bin four by week two. Opaque containers reintroduce the exact decision fatigue clear ones are supposed to remove.
Garage example: sort loose tools into “used monthly,” “used seasonally,” and “used once a year” piles before buying a single storage bin, then size and label bins around those actual groups instead of a generic “tools” bin.
Bathroom example: group under-sink items into “daily,” “backup/refill,” and “first aid” before buying organizers, so the daily group gets the front, easiest-to-reach bin instead of getting buried behind six months of backup shampoo.
New tip: keep the sorting piles for 24 hours before you buy anything. A pile that looked obvious at 9pm sometimes splits into two once you actually use the space the next morning.
Best fit: any space you’re organizing from scratch, a garage, a pantry, a linen closet. Weakest fit: a space that’s already 90% working, don’t tear apart a drawer that functions fine just to follow this step, it’s for spaces that are genuinely chaotic first.
3. Use vertical space before you add floor space

Most rooms run out of floor space long before they run out of wall space. Pegboards, over-door racks, and stackable shelving turn dead vertical space into real storage without shrinking the room.
Why it works everywhere: floor-level storage competes with walking space, furniture, and kids or pets moving through the room, and it’s the first thing that gets sacrificed when a room needs to feel bigger. Wall and door space, by contrast, is almost always sitting empty. Using it first means you solve the storage problem before you touch the floor plan at all.
How to actually do it: stand in the doorway and look up, not just around. Note every stretch of bare wall above waist height and the back of every door. Those are your first storage candidates, before you consider a new shelf unit or bin tower that eats floor space.
The mistake: mounting shelving too high to actually use daily, so it becomes overflow storage for things you never touch instead of active storage. If you need a step stool for a shelf you use weekly, it’s mounted wrong.
Garage example: a pegboard on one wall holds hand tools by outline, so each tool’s home is visible at a glance and nothing sits in a bin where it has to be dug out.
Kids’ closet example: an over-door shoe organizer holds small toys or art supplies instead of shoes, using space that would otherwise sit completely empty behind the door.
New tip: command hooks rated for the actual weight of what you’re hanging solve 80% of small vertical-storage needs without a single drilled hole, useful if you’re renting.
If you’re a renter: stick to over-door racks, tension rods, and rated adhesive hooks instead of anything requiring drilled anchors, and check your lease for a no-holes clause before mounting a pegboard.
Best fit: garages, kids’ rooms, small bathrooms, anywhere floor space is genuinely tight. Weakest fit: a room with low ceilings or heavy furniture already against most walls, where there’s simply not enough dead wall space to make this worth the effort.
4. Build a landing zone at every entry point, not just the front door
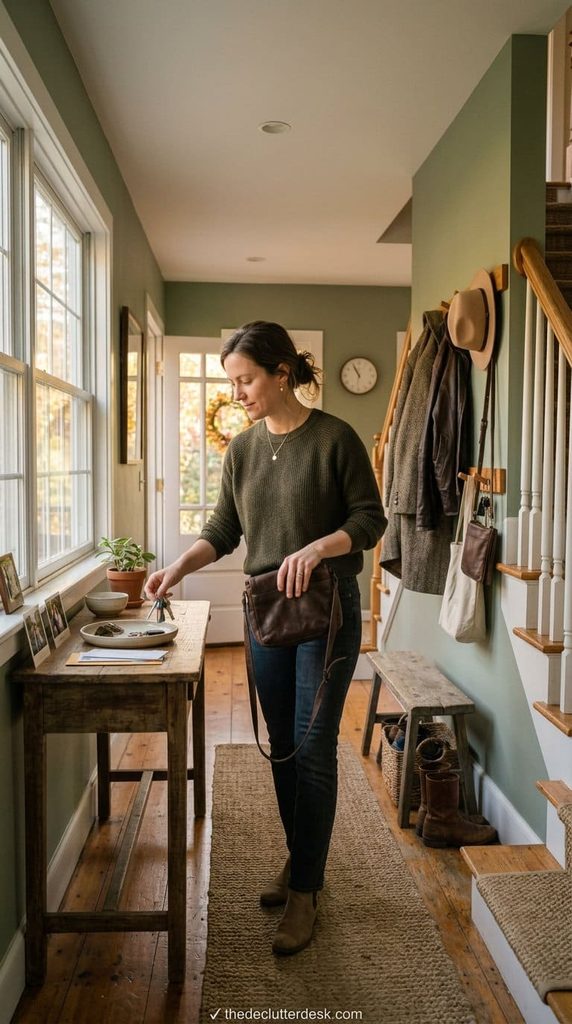
Everyone talks about a front-door landing zone. Fewer people apply the same idea to the garage door into the kitchen, the bedroom nightstand, or the kitchen counter where mail and keys actually pile up.
Why it works everywhere: clutter collects at transition points, wherever you move from “outside” to “inside” a space, because that’s exactly where your hands are full and your attention is somewhere else. A landing zone catches the drop before it becomes a permanent pile, instead of fighting the pileup after the fact. Carol Appelbaum, a professional organizer and founder of Luxury Pro Organizer, puts it simply: “When you understand what items land here daily, you can create a system to make it more efficient.” The zone only works once you know the real landing spot, not the one you wish it was.
How to actually do it: track where things actually land for three days, not where you wish they landed. If keys end up on the kitchen counter every single day despite a bowl by the front door, the kitchen counter is the real transition point and needs its own small tray, not a lecture about using the front-door bowl.
The mistake: setting up one landing zone at the “correct” entrance and getting frustrated when the house ignores it. A landing zone only works if it’s placed where the drop actually happens, not where it’s supposed to happen.
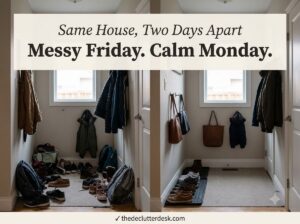
Entryway example: hooks at kid height for backpacks plus a bench for shoes, sized to how many people actually walk through that door daily.
Kitchen example: a small tray or shallow bowl on the counter closest to the garage or side door catches mail and keys before they spread across the whole counter.
New tip: a landing zone with more than 3 designated spots (hooks, tray slots, bins) usually fails, it starts to feel like a chore station instead of a quick drop point. Keep it to the 2 or 3 things that land there every single day.
If you have kids or a roommate: label each hook or bin with a name, not a category. “Emma’s hooks” gets used, “backpacks” quietly becomes a communal dumping spot within a month.
Best fit: any real transition point in the house, front door, garage entry, kitchen counter. Weakest fit: rarely-used entrances, a formal front door nobody actually walks through daily doesn’t need a landing zone, put the real one at the side or garage door instead.
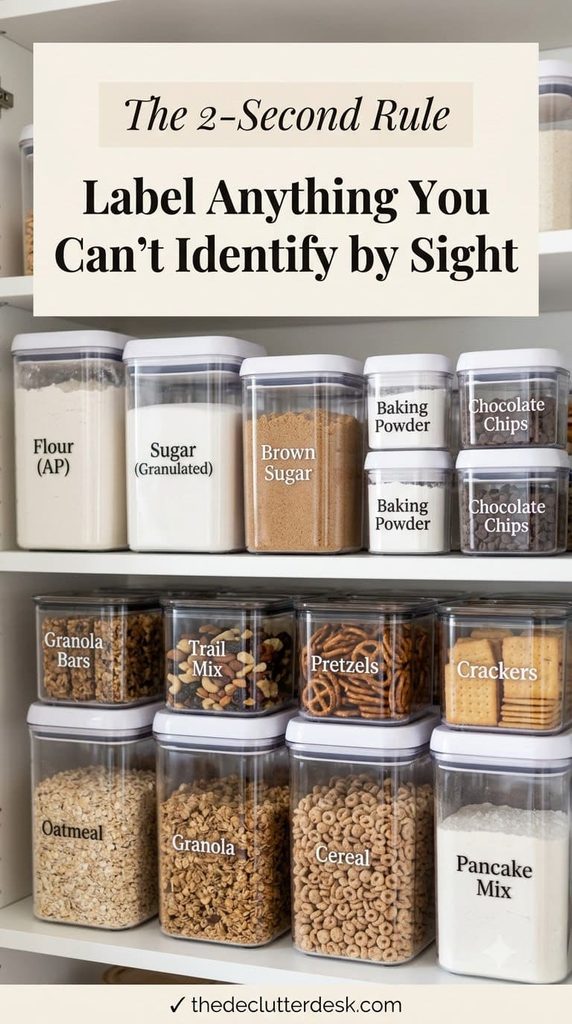
5. Label anything you can’t identify by sight in 2 seconds
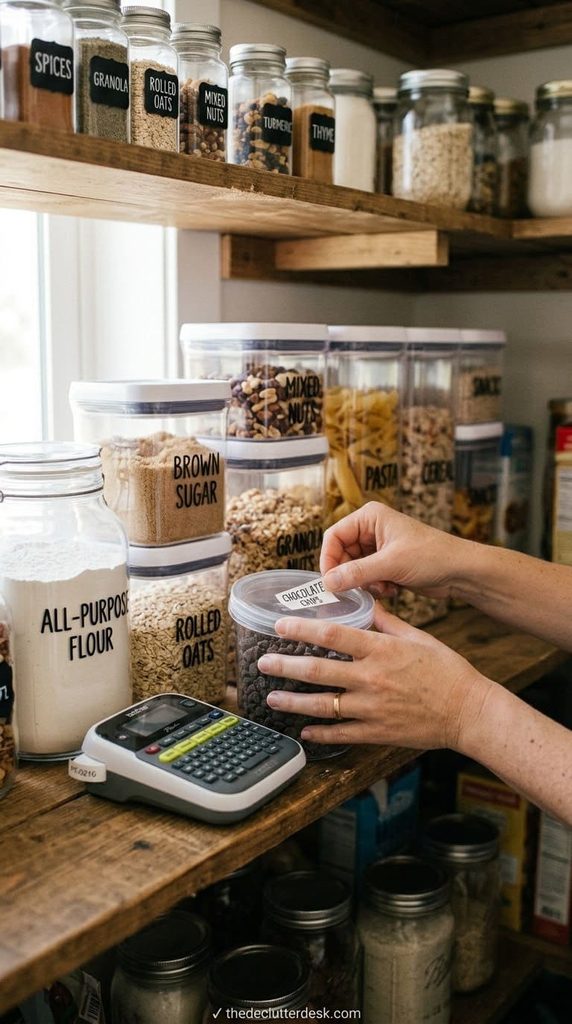
If you have to open a container, tilt it, or dig to know what’s inside, it needs a label. This sounds small, but it’s the single fastest fix for decision fatigue in a shared household.
Why it works everywhere: every unlabeled, opaque container forces a small guess every time anyone in the house needs something from it, and those guesses add up across a day faster than people expect. A label removes the guess completely, for you and for anyone else using that space.
How to actually do it: walk through a room and open every container you can’t identify from 3 feet away. Label the container itself, not just a shelf position, since bins get moved and shelves don’t travel with them.
The mistake: labeling by brand or generic category instead of contents, like a bin labeled “extras” that could mean anything six months later. A useful label names the actual contents specifically enough that a guest could find the item without asking.
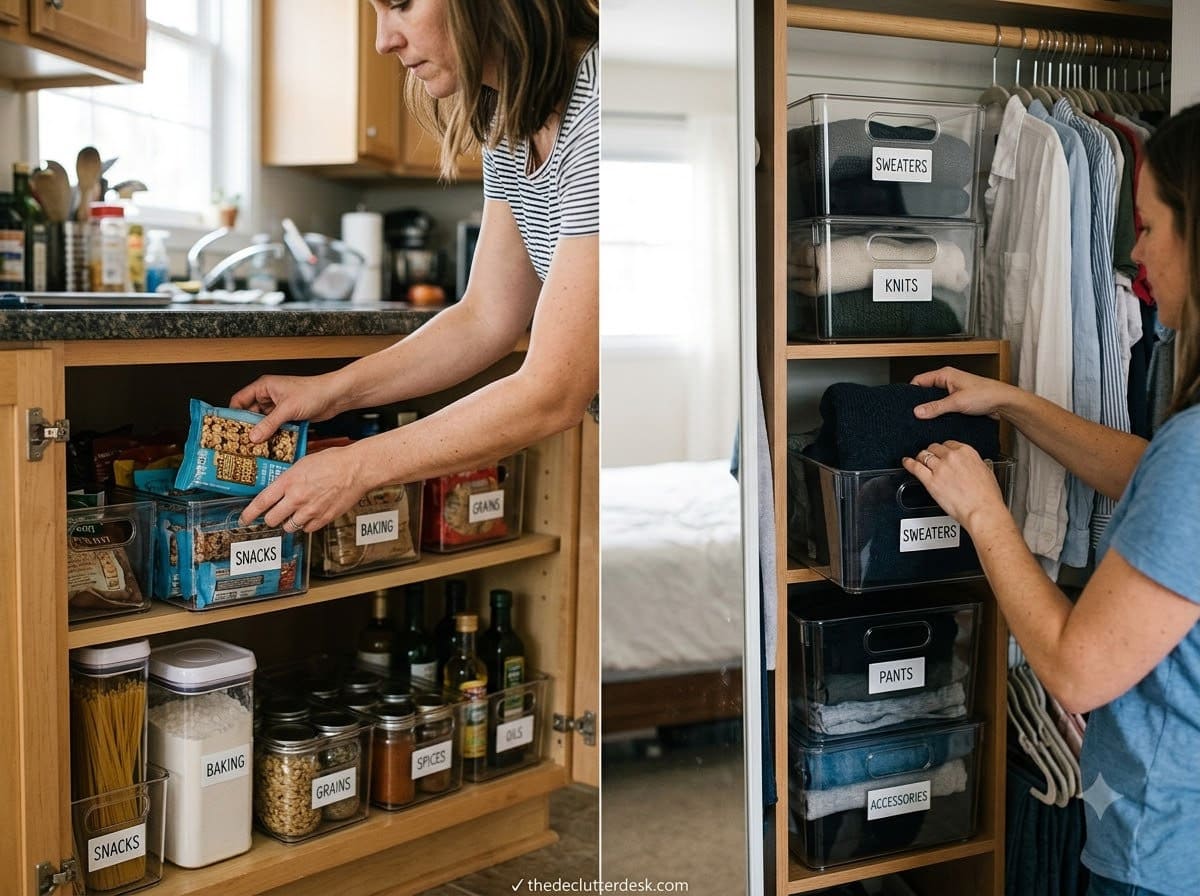
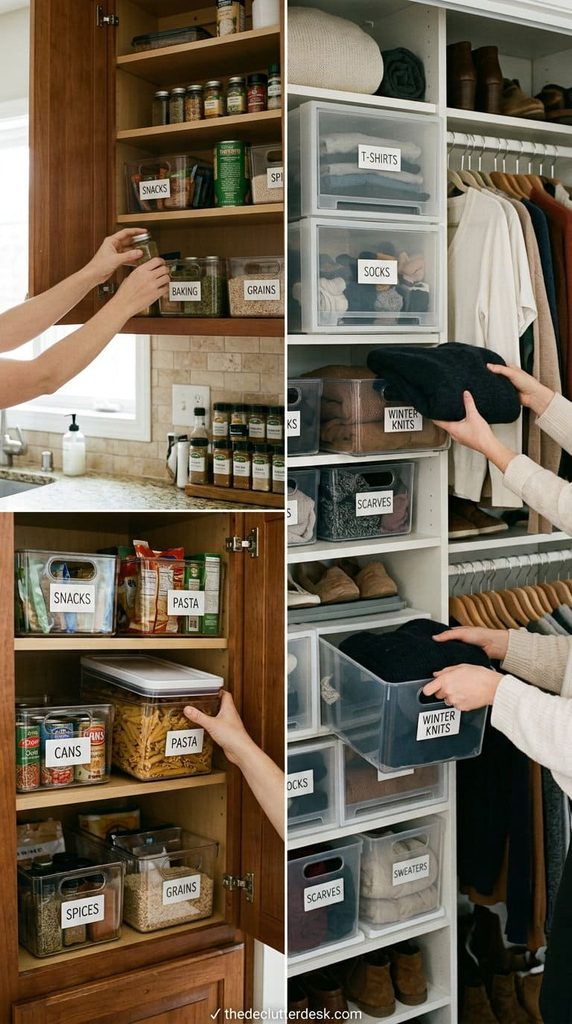
Pantry example: clear bins labeled “baking,” “snacks,” and “breakfast” instead of one deep shelf where flour, cereal, and granola bars all blur together.
Home office example: labeled file folders by task, not by date, “active bills” instead of “2026,” so you’re not opening three folders to find the one invoice you need.
New tip: a cheap label maker pays for itself fast, but painter’s tape and a marker work just as well if you’re testing a system before committing to it permanently. Don’t buy the label maker until you’ve lived with the system for a couple weeks.
If you have young kids: use picture labels, not just text, on toy bins. A 4-year-old can match a picture of blocks to a bin faster than they can read “building blocks,” and that’s the difference between them actually putting toys away and just leaving them out.
Best fit: shared kitchens, pantries, home offices, any space more than one person uses. Weakest fit: a single closet only you ever open, where you already know exactly what’s inside without a glance, labeling there is optional polish, not a real fix.
6. Follow the one-in-one-out rule before you declutter again
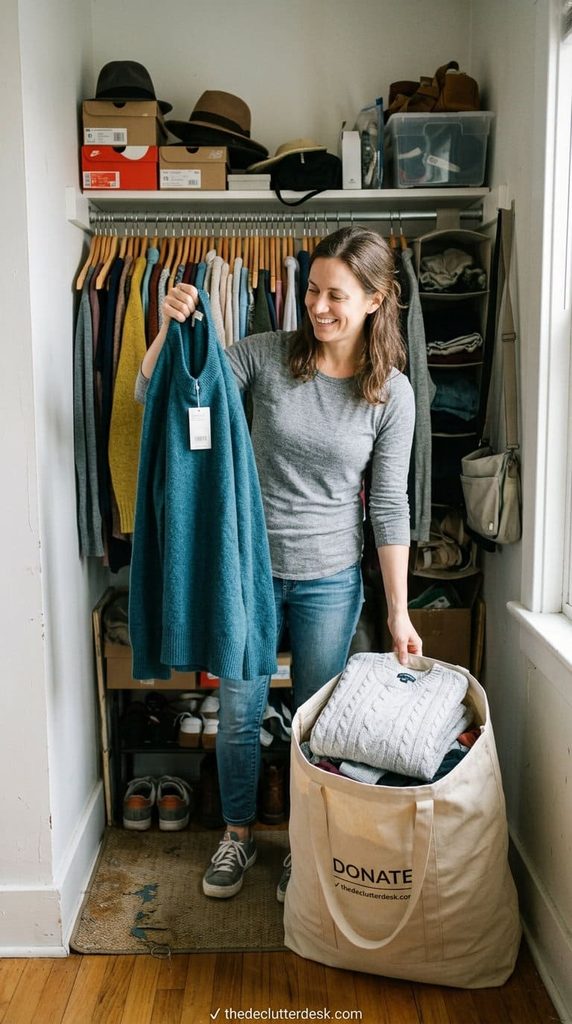
Most rooms don’t get cluttered from one big event, they creep back over months, one new item at a time with nothing leaving to balance it. The fix is a rule applied at the moment of purchase, not a quarterly cleanout.
Why it works everywhere: a single big declutter session resets a room, but it doesn’t change the habit that filled it up in the first place. Something in, something out is part of the same organizational triangle Mindy Godding describes, and it’s the piece that actually prevents the next reset from being necessary. Without it, every organizing project just becomes a recurring chore instead of a permanent fix.
How to actually do it: the moment a new item crosses the threshold, whether that’s a new shirt, a new toy, or a new kitchen gadget, pick one item in that same category to donate, toss, or move out before the new one gets put away. Not “eventually,” before you close the drawer.
The mistake: treating this as a strict 1:1 swap for every purchase, which burns people out fast and gets abandoned within a month. Godding’s own guidance leans toward roughly filling 70% of available space rather than a rigid item-count ratio, the point is balance over time, not a rule you have to police perfectly every single day.
Closet example: a new sweater means one existing sweater goes into the donate bag that same week, not “someday when I get around to it.”
Kids’ toys example: a birthday haul means an equal-ish volume of outgrown toys gets sorted into donate and keep piles before the new ones get shelf space, ideally with the kid involved in choosing what goes.
New tip: keep a standing donate bag in the closet or garage year-round instead of starting a fresh one each time. An item that’s already been through the “does this still work for me” decision goes straight into the bag, no separate sorting session required later.
Short on time? If you can’t commit to strict one-in-one-out, at minimum do a seasonal version, one bag out per season per closet. It’s a weaker version of the rule but still beats doing nothing until a room is unmanageable again.
Best fit: closets, toy storage, kitchen gadgets, anywhere new stuff enters regularly. Weakest fit: rooms that rarely get new items, a guest room or a garage tool wall doesn’t need this rule nearly as urgently as a closet does.
7. Run a 2-minute reset at the end of the day, not a weekend deep clean
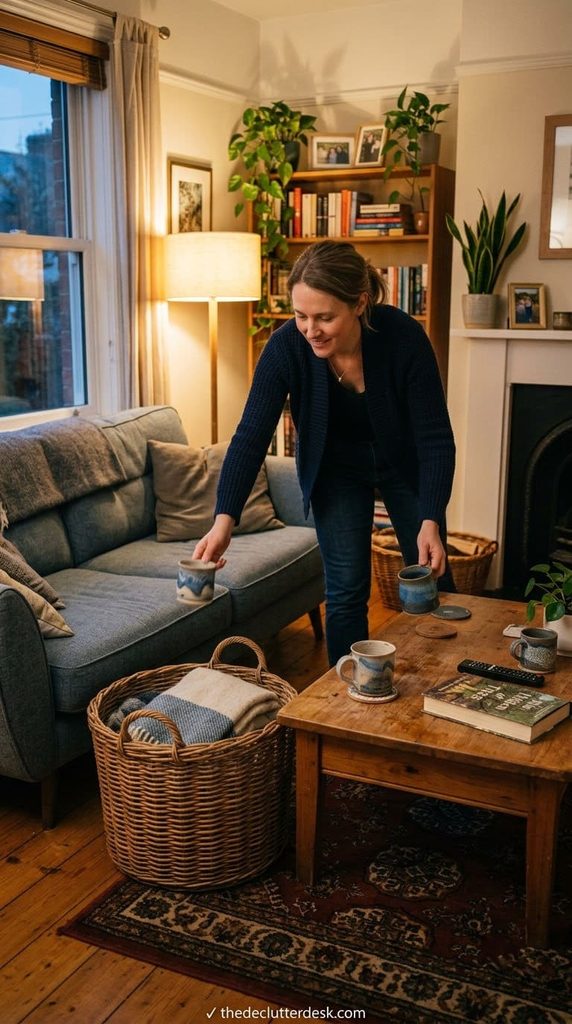
The maintenance habit matters as much as the setup itself. A 2-minute reset at the end of each day, or after each use of a space, is what keeps a system from unraveling within a few weeks of being built.
Why it works everywhere: clutter compounds. A single stray item left out doesn’t look like much, but it lowers the bar for the next stray item, and by the weekend a room that looked fine on Monday needs a full reset again. A short daily reset interrupts that compounding before it starts, the same logic behind not letting dishes pile up in a sink.
How to actually do it: set a genuine 2-minute timer, not an open-ended “I’ll tidy up.” Walk the room once, put back only what’s obviously out of place, and stop when the timer ends even if the room isn’t perfect. The goal is interrupting the slide, not achieving a full clean every night.
The mistake: skipping the reset “just for tonight” and letting it become every night. One skipped night rarely causes a problem. But the habit erodes fast once it’s been skipped three or four times in a row, and by then the 2-minute job has quietly become a 20-minute one.
Living room example: return blankets to their bin, clear cups and plates back to the kitchen, and reset couch cushions, nothing more.
Kitchen example: wipe the counter and load any stray dishes into the dishwasher before bed, so the morning starts on a clear counter instead of yesterday’s mess.
New tip: pair the reset with something you already do daily, right before brushing your teeth, right after the last load of laundry, so it attaches to an existing habit instead of needing its own reminder. I pair mine with turning off the kitchen lights around 9pm, honestly the only reason it’s stuck for me past the first two weeks.
If you have roommates or a partner: a shared 2-minute reset works better as a specific, named split, “you do the living room, I do the kitchen,” than a vague “we should tidy up” that nobody actually starts.
Best fit: every room in the house, this is the one hack on this list with no weak-fit room, since every space benefits from a quick daily check. Weakest fit: none, though it matters most in the highest-traffic rooms, kitchens and living rooms, where clutter accumulates fastest.
Which room to start in first
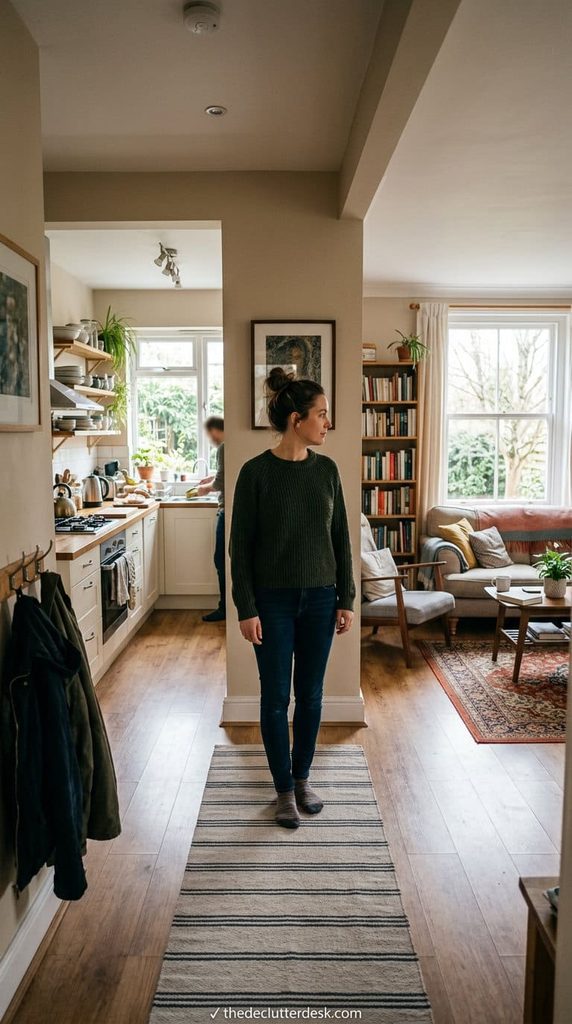
Don’t run all 7 hacks across the whole house in one weekend, that’s exactly the kind of project that stalls out by Sunday afternoon.
Pick the room with the worst daily friction first, the one where you’re actually losing time or getting frustrated, not the one that looks messiest in photos. A garage that’s merely dusty but functional matters less than a kitchen drawer you fight with every single morning.
Apply all 7 hacks to that one room before moving to the next. A single room done completely holds up better long-term than five rooms done halfway, and finishing one gives you a real, working example to copy for the next space instead of guessing.
FAQs
What’s the single most important organizing hack for a whole house?
Give every item one specific home. Every other hack on this list, containers, labels, landing zones, one-in-one-out, only works because it supports that first rule. Skip it and the rest of the system has nothing to hold onto.
Do these hacks work for small apartments the same way?
Yes, arguably more so. Vertical space and landing zones matter even more in a small footprint since there’s less floor space to fall back on, and one-in-one-out prevents the faster overflow that happens in a smaller home.
How long does it take to see results from these systems?
The setup for one room usually takes an afternoon. The real test is 3 to 4 weeks in, that’s when a system without a maintenance habit starts sliding back, and when the 2-minute reset habit either holds or gets skipped.
Do I need to buy new storage products to start?
No. Sort first with containers you already own, tape and a marker work for labeling, and command hooks handle most vertical storage without drilling. Buy specific products only after you know the real sizes and volumes you’re working with.
Products We Recommend
This post contains affiliate links. We may earn a commission on qualifying purchases at no extra cost to you.
Command Utility Hooks Value Pack, Medium, White, 6-Hooks
Handles the vertical-space and landing-zone hacks in one product, damage-free enough for renters, and rated to hold 3 lb per hook, real household weight, not just decorative use.
Shop Now
Brother P-Touch Label Maker, PTH110
This is what makes the label-anything-you-can't-identify rule fast enough to actually stick, instead of hand-writing labels that fade or peel within a season.
Shop now
Sterilite ClearView Latch Boxes, 6-Quart, 12-Pack
Clear, stackable, and sized small enough to fit the "sort first, buy second" rule, useful for the container-first hack in a pantry, closet, or garage alike.
Shop nowNever miss an update — choose TheDeclutterDesk as your preferred source on Google.
How it works: Tap the button below to open Google's settings page, then check the box next to TheDeclutterDesk.
Tap the checkbox to turn it blue — that's how you know it's set.