I Don’t Have a Closet: How I Reset My Bedroom in 30 Minutes
I live in a 1970s apartment with no bedroom closet, just a chair that used to be a clothes pile before I built a real system around it. This is the exact 30-minute reset I run when the room gets away from me, five timed phases, no drilling, and it actually holds.
Never miss an update — choose TheDeclutterDesk as your preferred source on Google.
How it works: Tap the button below to open Google’s settings page, then check the box next to TheDeclutterDesk.
Tap the checkbox to turn it blue — that’s how you know it’s set.
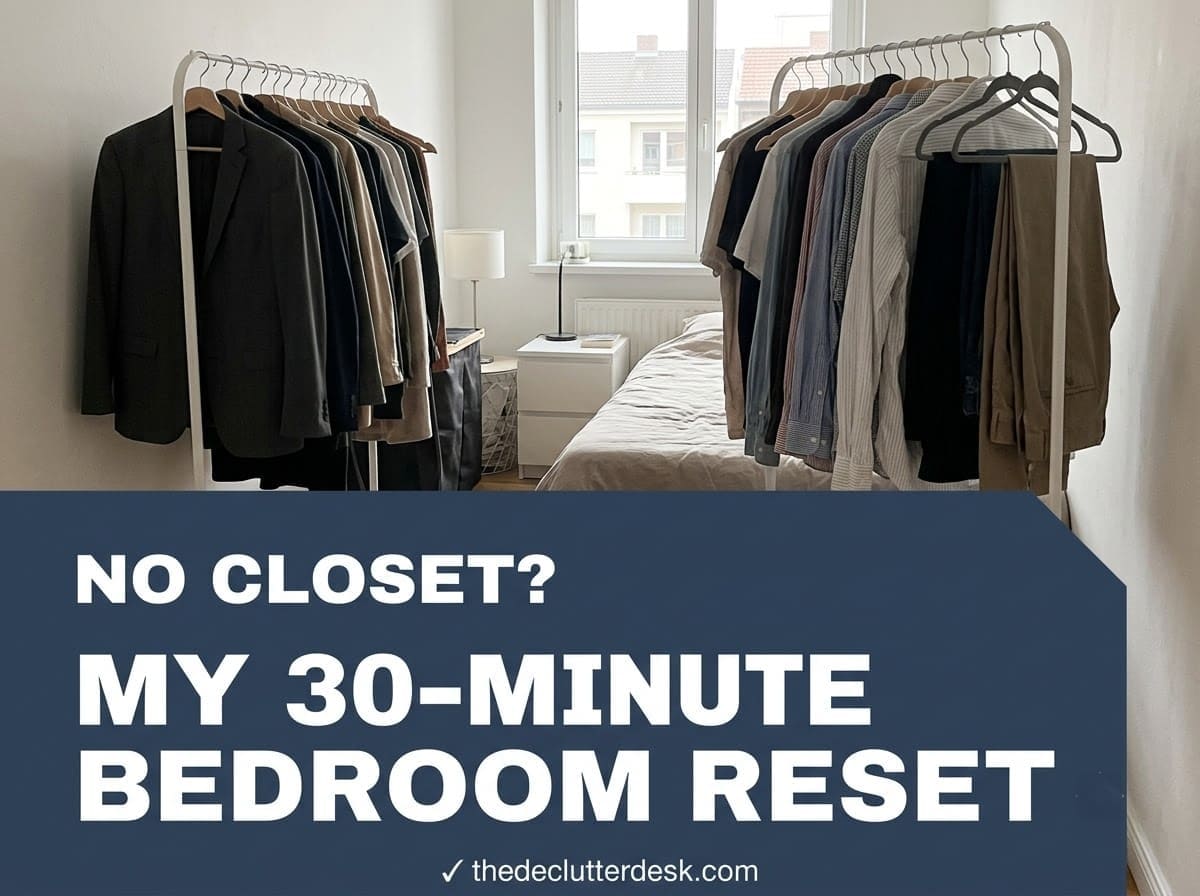
My apartment’s bedroom has no closet, just a blank wall where one was supposed to go, which apparently was normal in buildings from this era. I built my own version out of a garment rack, some bins, and one hard rule about the chair, and now I can reset the whole room in 30 minutes when it starts sliding backward. Here’s the actual routine, broken into five timed phases, not a vague “declutter your room” pep talk.
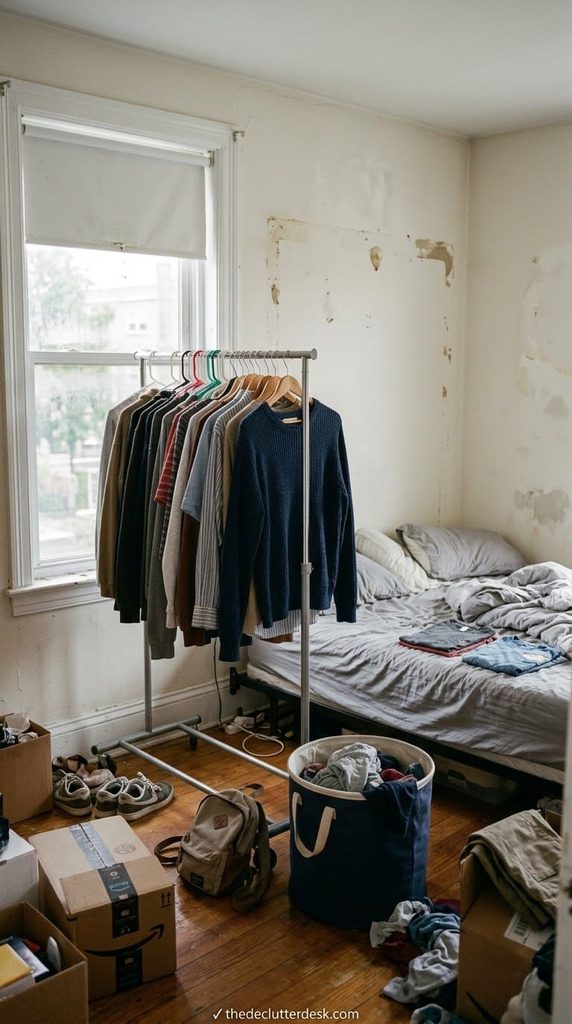
The apartment had a closet-shaped hole where a closet should be
I found this out the hard way during my first week here. I unpacked four boxes of clothes, looked around the bedroom, and realized there was nowhere to put any of it. No rod, no shelf, nothing. Just a wall.
Buildings put up before central closets became standard often skipped bedroom closets entirely, especially studios and one-bedrooms converted from older row houses. My unit is one of those. It’s common enough that “no closet bedroom” pulls real search volume on its own, so I’m clearly not the only one dealing with this.
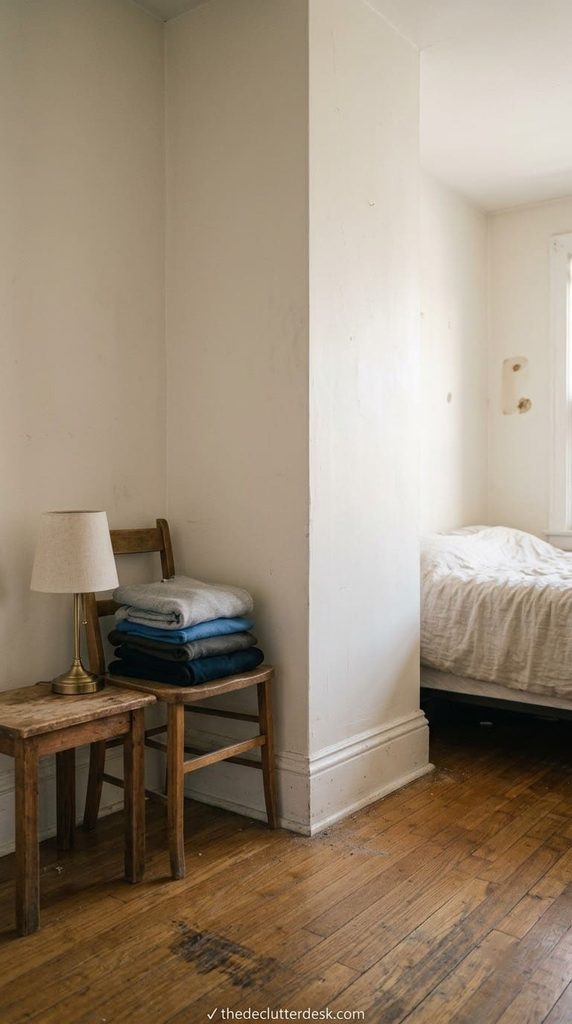
For the first two months I lived out of a pile on the reading chair in the corner. Clean clothes, dirty clothes, and whatever I’d worn twice, all in one heap, because there was no other flat surface with a real job. It took about 340 days of that chair pile before I actually built a system instead of just complaining about the apartment.
Professional organizer Maria Baer, founder of The Baer Minimalist, makes the case that an open storage setup can look more intentional than a hidden one if you actually edit down what’s in it first. That reframing is what got me to stop treating the missing closet as a problem to hide and start treating it as a system to build.
Phase 1 (0-5 minutes): Clear the floor and every flat surface first
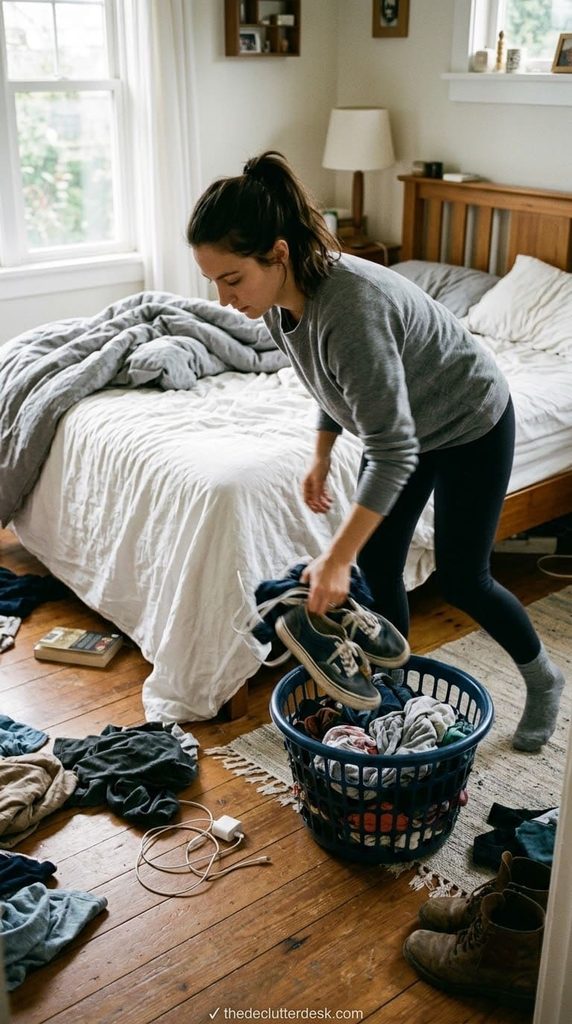
I don’t sort anything in this phase. I just grab a laundry basket and do one fast sweep, floor, chair, nightstand, dresser top, and dump everything that isn’t supposed to live there onto the bed in one pile.
The exact steps: start at the door and move clockwise around the room so you don’t backtrack and miss a corner. Anything on the floor goes in the basket. Anything on a surface that isn’t a lamp, alarm clock, or the actual thing that surface is for goes in the basket too. Dump the basket on the bed once, don’t sort as you go.
The common mistake here is stopping to make decisions mid-sweep, “should I keep this shirt,” “where does this charger go.” That’s a sorting decision, and sorting decisions during the clearing phase are what turn a 5-minute sweep into a 35-minute one. Clear first, decide later, in its own separate phase.
Only have 2 minutes? Skip the dresser top and nightstand, just clear the floor and the chair, those are the two spots that make a room look chaotic from the doorway. With the full 5, do every surface including under the bed’s visible edge.
Renters sharing a room with a roommate should each keep a separate basket for this step. Mixing piles means someone ends up sorting the other person’s stuff by accident, and that’s exactly the kind of small friction that makes people stop doing the reset at all.
Phase 2 (5-15 minutes): Build your closet substitute and sort what’s on the bed

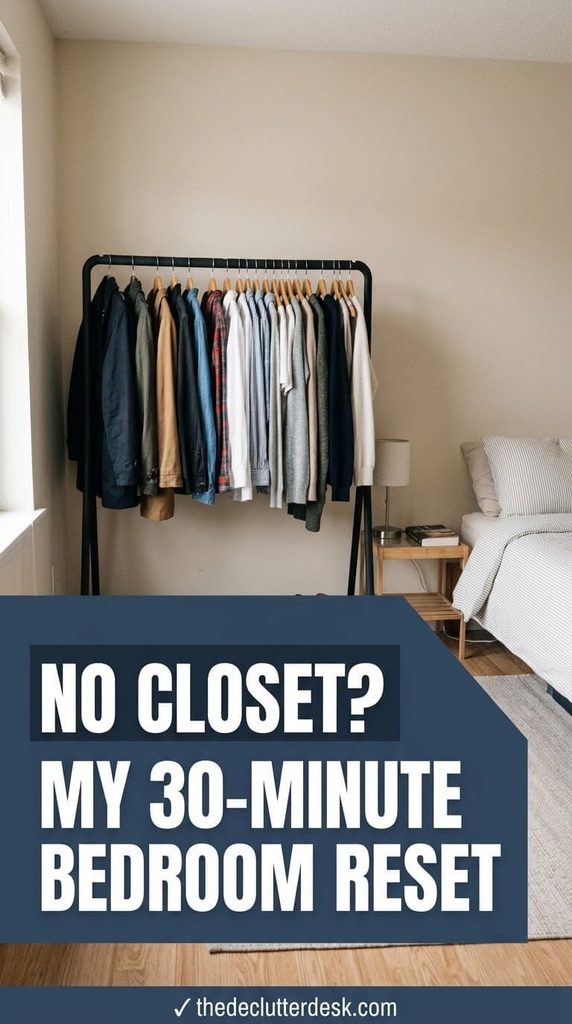
This is the actual core of the routine, and it only works because of one piece of furniture: a freestanding garment rack. Mine’s been against the same wall for over a year now, and it’s the single thing that made this apartment livable without a closet.
The exact steps: hang anything that wrinkles or that you wear often on the rack first, that’s your daily-use layer. Fold anything that doesn’t wrinkle (t-shirts, sweats, base layers) straight into dresser drawers. Anything you haven’t touched in more than a season goes into a separate pile, not back on the rack, that pile becomes Phase 3.

This is the closet substitute this whole routine is built around, a rolling rod with a bottom mesh shelf for shoe boxes or bins, which is exactly the two-in-one setup Phase 2 and Phase 4 use.
Shop NowThis post contains affiliate links. We may earn a commission on qualifying purchases at no extra cost to you.
Baer’s advice that stuck with me most is treating the open rack like a small boutique rather than a hidden closet, since everything on it is visible all the time. If boutiques can fit around 100 outfits into 200 square feet of retail floor, a curated rack of maybe 25-30 pieces in a bedroom corner isn’t unreasonable, it’s just editing.
The mistake I made for months was hanging everything, including stuff I hadn’t worn since I moved in. A rack that’s crammed full looks worse than a messy pile, because there’s no visual gap to signal “this is under control.” Uniform hangers help here too, mismatched wire and plastic hangers at different heights read as chaos even when the clothes themselves are fine.
Short on time, hang only what’s currently dirty-to-clean turnover, this week’s rotation, and leave the rest in drawers. With the full 10 minutes, also wipe down the rack’s base bar, where dust and lint actually collect fastest, and check that nothing’s slipping off a bent hanger.
For a shared room, color-code hangers per person, one color per roommate, so nobody’s digging through someone else’s half of the rack every morning.
Phase 3 (15-22 minutes): Deal with off-season clothes you have nowhere to put
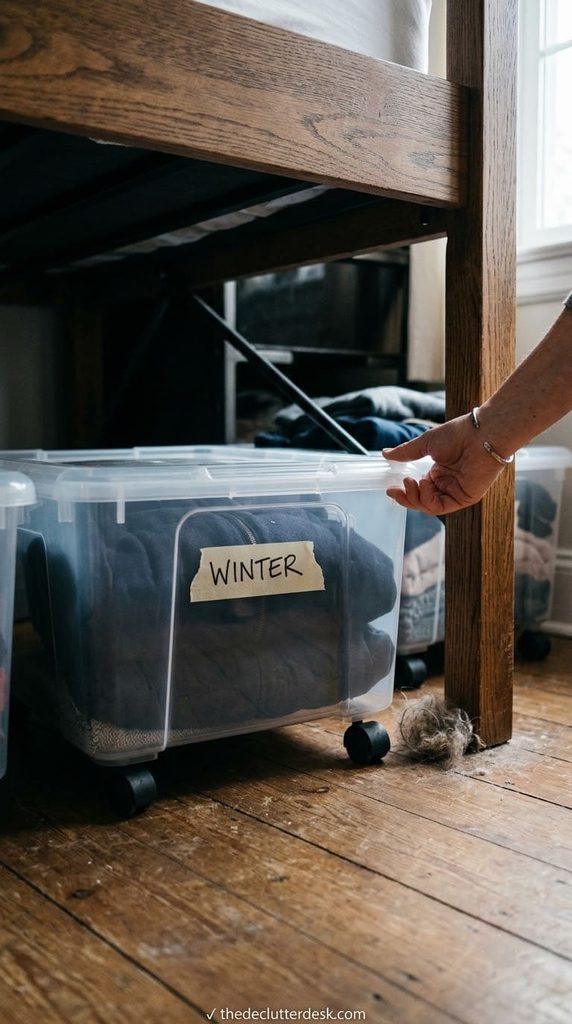
This is the part every no-closet article online skips past with a single vague line about “storage bins.” Off-season clothes need an actual system, or they end up back on the floor within a month, mine did, twice, before I fixed it.
The exact steps: compress bulky items (winter coats, comforters) into vacuum storage bags before binning them, this alone can shrink a stuffed pile down to a fraction of its floor footprint. Load the flattened bags into a low, wide under-bed bin with wheels, and label each bin by season, not by item type, so you’re not opening three bins to find one sweater in October.
Barbara Brock of Barbara Brock Inc. points out that vacuum bags were built specifically to maximize space and protect clothes from damage while they’re stored away, and that they stack cleanly into an out-of-the-way spot like under-bed storage. That’s exactly the gap a no-closet bedroom has, there’s no shelf to put a normal bin on, so under-bed is often the only real option left.
The mistake is vacuum-sealing anything made of down or structured wool coats, compression can crush the loft right out of them permanently. Those items get a breathable garment bag hung on the rack’s end instead, not a vacuum bag, even if that means less of the rack stays available for daily wear.
Tight on time, just shove the current off-season pile into one bin, unlabeled, and deal with the vacuum bags next weekend. With the full window, vacuum-seal, label by season, and roll the bins under the bed frame so they’re not visible from the doorway.
If your rental has low-clearance bed frames, flat under-bed bags with a zip closure work instead of rolling bins, they’re about 3 inches tall and still slide under most platform beds.
Phase 4 (22-27 minutes): Solve the shoe problem you don’t have a closet floor for
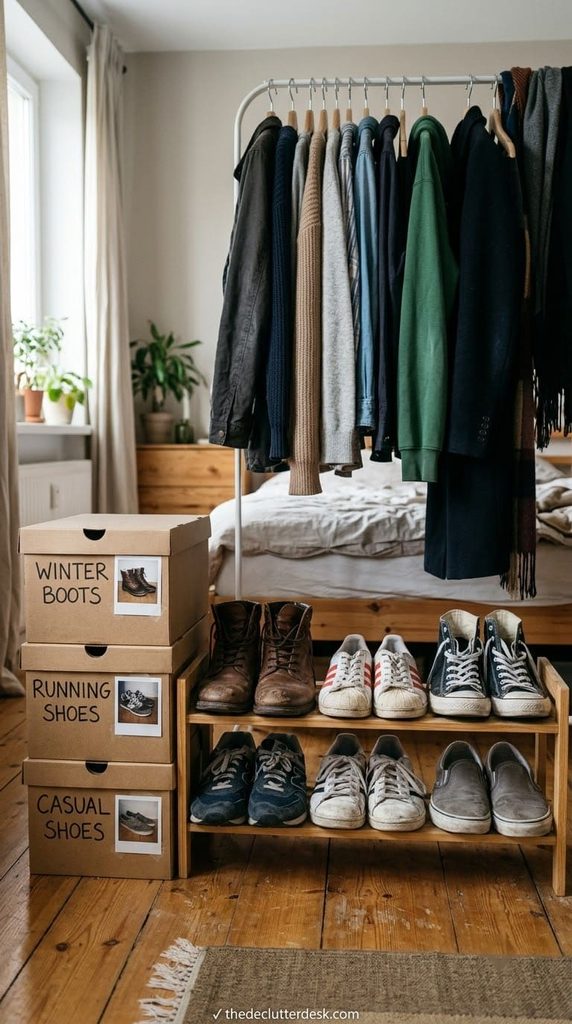
No closet also means no closet floor, which is where most people’s shoes normally live. I tried a shoe pile by the door for a while. It looked exactly as bad as it sounds and it made the whole room feel unfinished even when everything else was tidy.
The exact steps: keep only your current-rotation shoes (the 4-6 pairs you actually wear) in an open shoe rack or tray near the door, and box everything else, dress shoes, off-season boots, in labeled shoe boxes that slide onto the garment rack’s bottom mesh shelf or stack in a closet-free corner.
Reusing the actual cardboard boxes shoes came in, labeled with a photo taped to the short end, is a trick I picked up after reading Baer’s suggestion to recycle shoe boxes for display rather than buying a matching bin system you don’t need yet. It costs nothing and it works.
The mistake is letting the shoe rack become a catch-all for whatever’s nearest the door, including bags and umbrellas. Give it one job, shoes only, or it stops functioning as a shoe system within a week the same way an unlabeled junk drawer does.
Only a minute or two? Just line up whatever’s loose by the door into pairs, that alone reads as tidy from a glance. With the full 5, rotate in season-appropriate pairs and box anything that’s been sitting untouched.
Households with kids should keep the kids’ shoe spot separate from the adult one, even if it’s just a second small tray, mixed shoe piles by size are one of the most common places I’ve seen a shoe system fall apart fast.
Phase 5 (27-30 minutes): Reset the bed and nightstand last
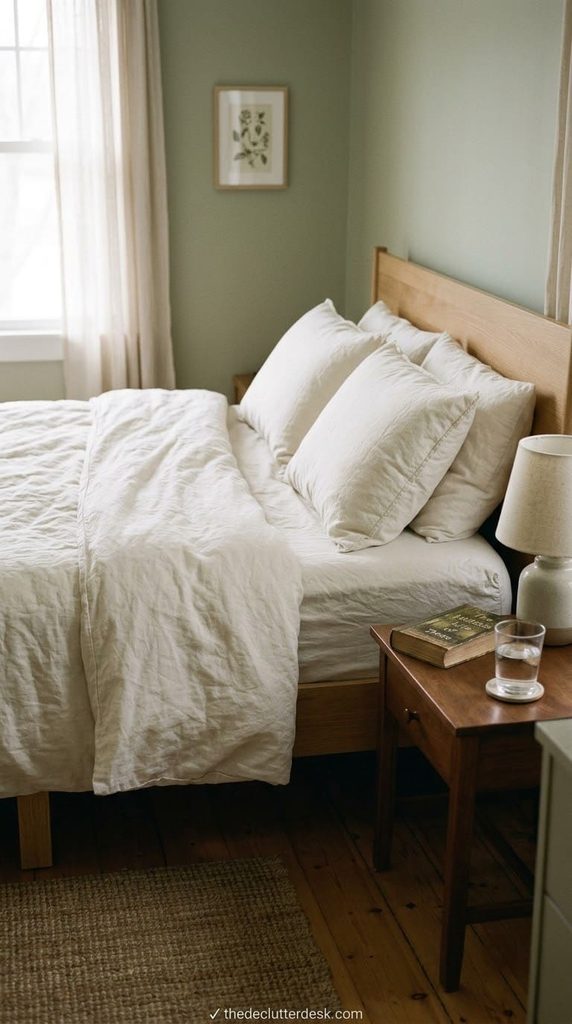
The bed and nightstand go last because they’re the fastest win and the most visible payoff, doing them first would mean staring at a still-messy rack and bins while the bed looks finished, which is a weirdly deflating way to end a reset.
The exact steps: pull the top sheet and comforter straight and square the pillows, that’s genuinely 80% of what makes a bedroom look reset even if the closet substitute behind you is still imperfect. Clear the nightstand down to 2-3 items, a lamp, whatever you’re currently reading, water glass, and put everything else away or in a drawer.
The mistake is treating the nightstand drawer as a second junk pile instead of an actual storage spot, I did this for a full year. If the drawer’s already full of dead batteries and old receipts, there’s no room for the stuff that’s supposed to live there daily, and it all ends up back on top.
Only have a minute? Just straighten the comforter and pillows, skip the nightstand entirely, that’s the highest-visibility fix for the least effort. With the full 3, also do the nightstand and wipe the lamp base, dust collects there fast and nobody notices until it’s bad.
Maintain, don’t just organize
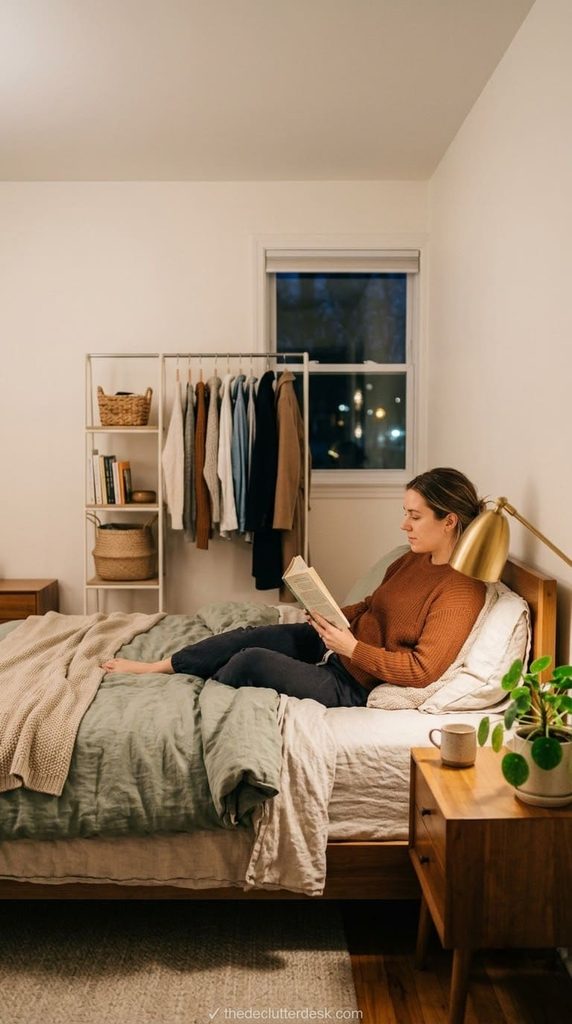
None of the five phases above matter much if the room just slides back to a chair pile in three weeks, which is what happened to me the first two times I tried this before I added an actual maintenance habit on top.
A NAPO Certified Professional Organizer, Janine Cavanaugh, put it simply: an organized home isn’t built in a day, it comes from smart systems and consistent habits, not a one-time weekend project. That’s true for a bedroom with a real closet too, but it matters more here because a no-closet setup has fewer built-in walls forcing the mess to stay contained.
My actual maintenance rule is a 90-second nightly check before bed, anything on the floor goes back to its rack, drawer, or bin, no exceptions, no “I’ll do it tomorrow.” And honestly, some nights I skip it, but the room never gets back to chair-pile-bad because the system underneath is still there waiting.
Run the full 30-minute reset once a month, or any time the nightly check starts slipping for more than a few days in a row. That’s roughly the tipping point where a no-closet bedroom either stays a system or turns back into a floor of clothes.
FAQs
How do I organize a bedroom with no closet on a rental budget?
Start with one freestanding garment rack (they run about $20-40) and a couple of under-bed bins before buying anything else. Those two pieces cover hanging storage and off-season storage, the two gaps a missing closet actually creates. Everything else, shoe racks, nightstand trays, can wait.
Will a garment rack damage my rental’s walls or floors?
No, a freestanding rack doesn’t touch the wall at all, it stands on its own casters or feet. If you’re adding wall hooks alongside it, stick to weight-rated adhesive strips instead of screws, and test one strip in an inconspicuous spot for 48 hours before committing to a full wall of them.
How often should I redo this 30-minute reset?
Once a month as a baseline, plus a 90-second nightly check to keep it from sliding back. If you skip the nightly check for a week or more, expect the full reset to take closer to 45 minutes since more has piled up.
What if I don’t have room for a garment rack at all?
A tension rod mounted between two walls, above a dresser, or across an alcove gives you hanging space without any floor footprint, and it comes down in seconds if you move. It holds less than a rack, so pair it with more aggressive wardrobe editing.
Products We Recommend
This post contains affiliate links. We may earn a commission on qualifying purchases at no extra cost to you.
Sakugi Clothes Rack, Heavy-Duty Metal Garment Rack with Mesh Shelf and Casters
This is the closet substitute this whole routine is built around, a rolling rod with a bottom mesh shelf for shoe boxes or bins, which is exactly the two-in-one setup Phase 2 and Phase 4 use.
Shop Now
Tsinglax Under Bed Storage with Wheels, 2-Pack, 66L Clear Lids
The clear lids solve the exact labeling problem in Phase 3, you can see what season is in each bin without pulling it all the way out from under the bed frame.
Shop now
Adhesive Wall Hooks, No Drill Heavy Duty, 13lb Capacity, 8-Pack
(4.5 stars, 51,100+ ratings, Best Seller). Renter-friendly extra hanging spots for tomorrow's outfit, a robe, or a bag, without adding holes a security deposit has to cover.
Shop nowNever miss an update — choose TheDeclutterDesk as your preferred source on Google.
How it works: Tap the button below to open Google's settings page, then check the box next to TheDeclutterDesk.
Tap the checkbox to turn it blue — that's how you know it's set.